How to improve your team’s Miro experience
Miro does a great job at replicating the real-world tools and spaces necessary for collaboration across distributed teams. Essentially an online whiteboard, it helps teams gather, share, create, communicate, and make decisions with a variety of collaborative tools. It’s Tremendousness’ go-to platform for virtual workshops, and we’ve learned a few things you can do to make it work even better for you.
There are many ways to use Miro, but our core activities focus on discovery, content mapping, and user research for our visual storytelling projects. But you can use it to do wireframes and UX design, customer journeys, asynchronous collaboration, and more. Regardless of the use case, you’ve got to prep in order to succeed.
Set the stage
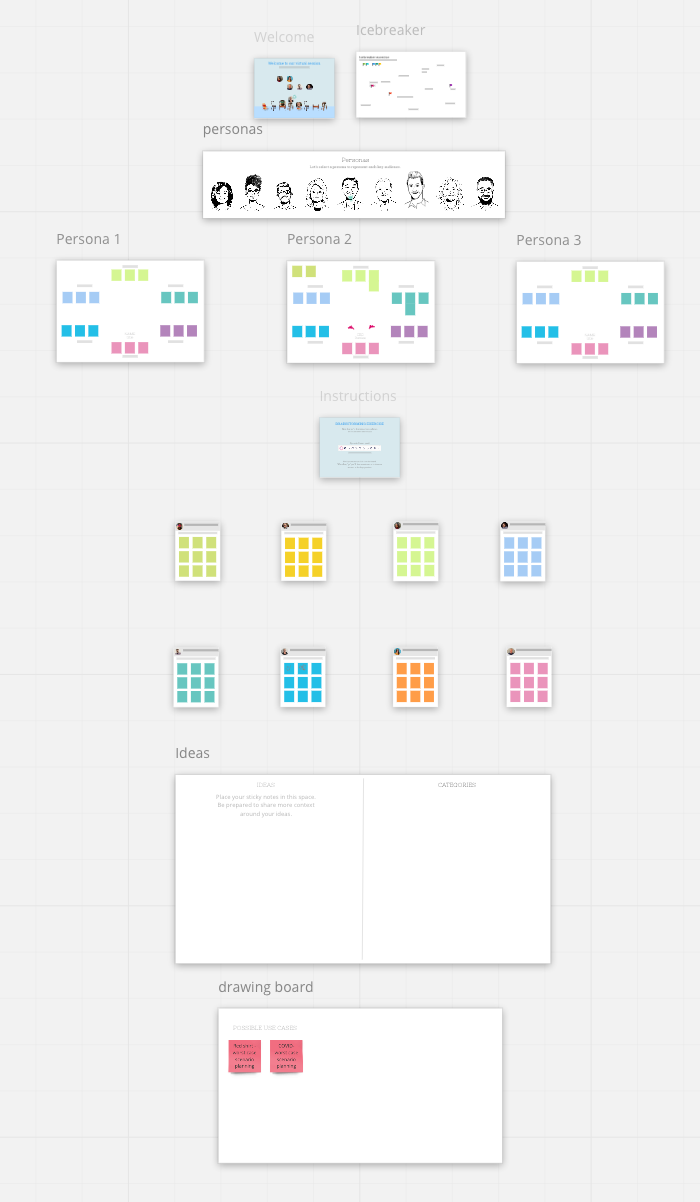
When you’re setting up a Miro workspace, approach it as you might when setting up a real room for discovery or brainstorming. Keep in mind the flow of activities, the placement of elements and tools, and where people might convene and where they might disperse. It’s tempting to simply create a long line of Miro boards, like below.

 But being thoughtful about where each board is placed and how they relate to each other has an unconscious effect on how the participant will understand and experience the activities. It’s also critical when elements from one board might need to be transferred to another.
So instead of a static, unbroken strand of boards, it’s more useful to group them by activity—almost like an agenda you actually work within, like at right.
More is more
Much of the communication that happens in person is non-verbal. We take cues from what others are doing, what their faces are expressing, and how they’re approaching a given exercise. Nearly all of that is lost over a virtual platform. That’s why it’s important to over-communicate.
Be clear about your goals for each exercise and the meeting as a whole. Repeat them. Assume your participants need lots of explaining. Include written instructions on each board so you don’t have to answer the same questions over and over. That said, if you split participants into breakout groups, it’s worth it to reiterate the instructions with each group once they’ve broken apart.
For example, if three breakout groups are working on empathy maps for three different audiences, over-communicate up front to save time later: write brief instructions on the board, explain the empathy map process to the group as a whole, then quickly talk to each separate group about anything important and specific to their person.
And speaking of breakout groups…
Pair it with Zoom, Webex, etc.
Stacking technologies on top of each other isn’t generally advisable. But having a video conferencing service that is separate from Miro can really help with organization. Often during collaborative meetings you’ll want to give participants a chance to work in separate teams. Zoom allows you to create “breakout rooms” where each team can have their own private space to collaborate, where they can’t be easily distracted by what other teams are doing or saying.
When you do this, you have to create separate boards in Miro for each team to work on during the given exercise. It’s also a good idea to give decent breathing room to these boards so teams can’t easily see each other’s work, like below.
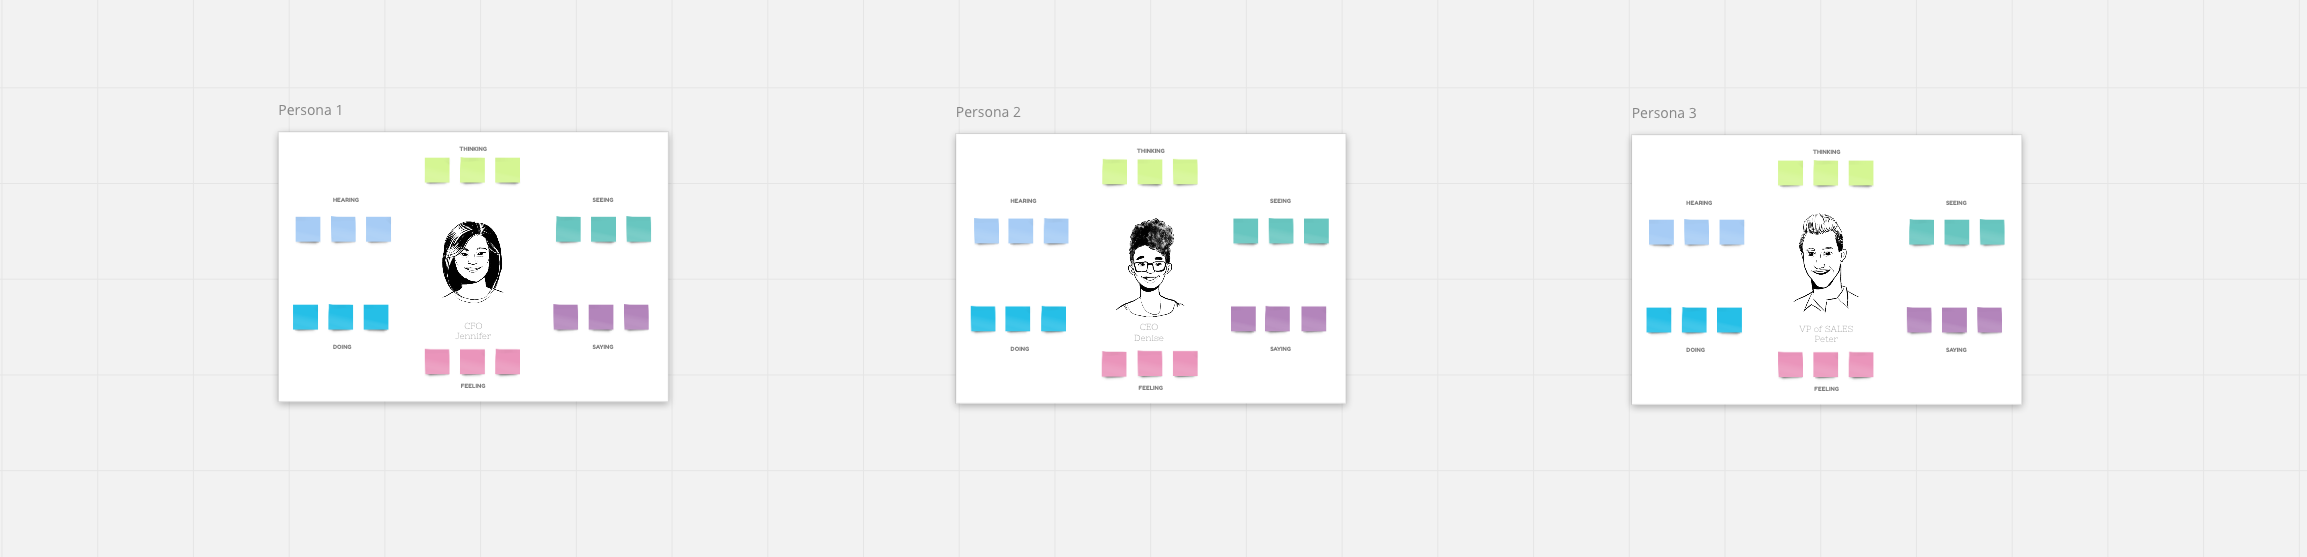
Any video conferencing service that has a breakout rooms feature will work. Just make sure you can split people into groups and then bring them back to the main room when everyone’s finished.
Make it visual
We’re obviously big proponents for keeping things visual at Tremendousness. But if you can’t bring a live sketcher to your meeting, Miro has tools that help you bridge the gap between words and pictures.
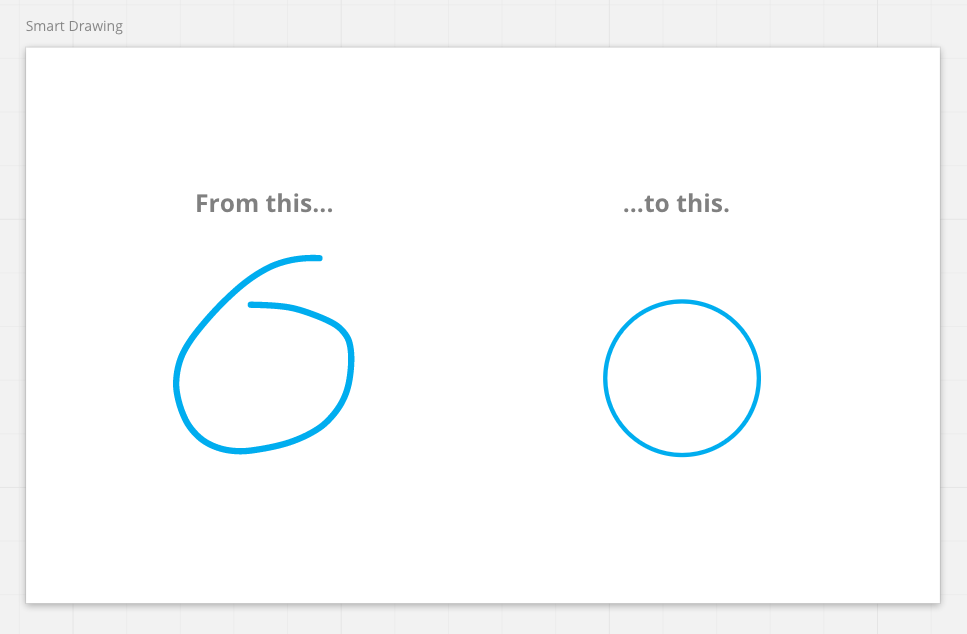
“Smart drawing” (a toggle found in the pen tool panel) will automatically transform your wobbly circles, crooked squares, and terrible triangles into perfect geometric shapes.
And if you don’t want to brave the pen tool, there are a number of integrations that allow you to pull imagery from outside sources. This includes icon libraries, Google Images, charts, mindmaps, web pages, and more.
One of the best things about Miro is the more you use it, the more you’ll learn how to make it work for you. Like so much software out there, it’s only as good as you are at using it. Meaning, it doesn’t do anything for you, it simply enables distributed teams to do the things they used to do together in a conference room. This requires purpose and planning. Like any creative, collaborative exercise, prep is key.
The tips above will help you guide and focus participants as you start out, but they’re only the beginning. Give Miro a try in your next meeting, and see where it takes you!
Visuals by Drew Crowley / Tremendousness.
